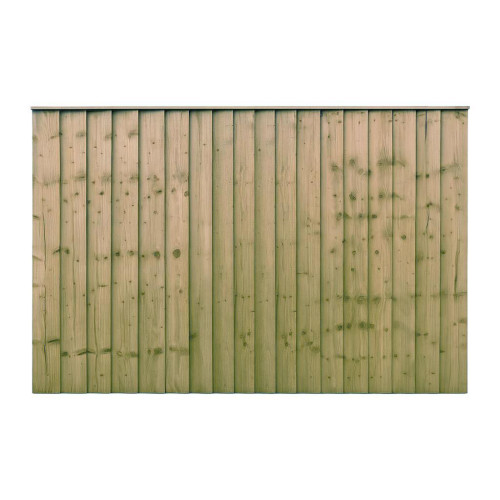
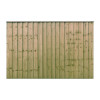
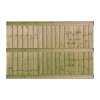
Manufactured in-house by East Coast Fencing, this 4ft closeboard fence panel measures 1830mm wide by 1200mm high and is supplied in a green/natural pressure-treated finish. It is intended for situations where 900mm fencing feels too low but a 1.8m privacy fence would dominate the space, giving a useful balance between screening and openness. The solid-looking feather edge face makes it a different proposition from picket or trellis fencing: the overlapping boards reduce direct sight lines while the chosen height controls how enclosed the boundary feels.
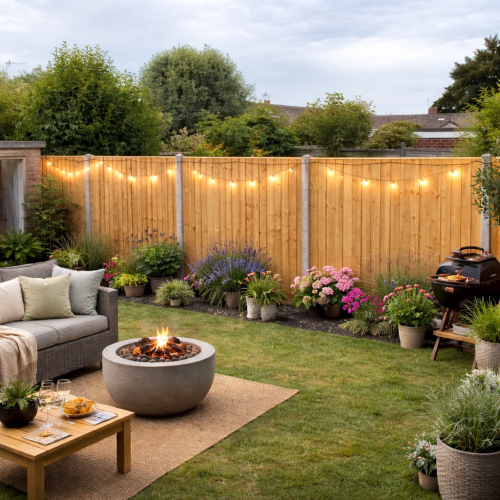
The 1.2m height is often chosen because it is neither a token boundary nor a full privacy screen. It can hide lower-level clutter and define a side or rear garden while leaving more sky and light above the fence. The standard three-rail construction keeps the panel straightforward, while the four-rail Ultra alternative provides the meaningful specification step-up if more support is wanted at this same height.
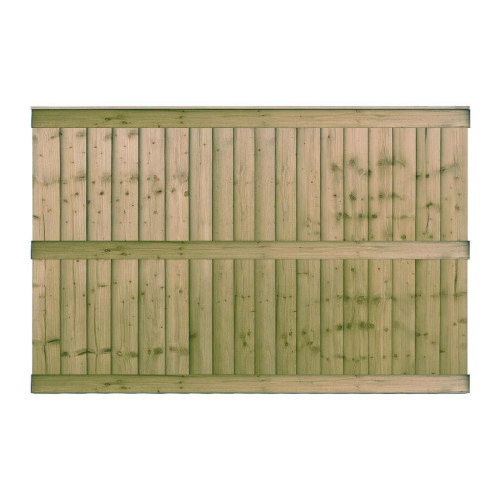
The standard panel is built from 18 feather edge boards at 125mm wide, fixed across 3 backing rails measuring 75 x 32mm. It is an unframed closeboard design with a listed 45mm depth, and a timber capping strip finishes the top. The capping covers the exposed top line of the boards and encourages rain to run off rather than remaining on that edge. Because we manufacture the panel ourselves, these construction details are part of the product specification rather than assumptions based on a generic closeboard panel.
Choosing green/natural rather than brown does not change the panel layout or rail count; it changes the initial treated appearance. This makes it useful where the customer wants the lighter, more natural-looking treated timber finish across panels, posts or other timber components. For this 4ft size, the standard build uses 3 rails. Where the boundary is more exposed or extra support is a priority, compare it with the corresponding Ultra Heavy Duty panel in our closeboard fence panels range.
A good installation keeps the panel itself out of direct ground contact. Use a suitable gravel board where the fence line runs over soil or other damp ground, and establish the base line before the panels are fitted. Before fixing, establish a straight top line and a consistent base. On changing ground levels, planned steps from bay to bay generally look cleaner than letting the bottom edge touch the ground at one side. If the garden slopes, plan the steps between bays first so one corner of the panel is not forced into the soil simply to keep the top line continuous.
Check the support system at the same time as the panels. Suitable fence posts need to be set straight and at the correct spacing for the actual panel width, with the post length chosen around the required visible fence and below-ground fixing. On replacement work, measure between the existing posts before ordering. If a panel is trimmed, any fresh cut timber should be re-treated rather than left exposed. These checks are more useful than relying on the nominal 6ft width alone.