Garden Fence Panels – Enhance Your Home’s Security and Style
Garden fence panels are more than just boundaries; they’re essential for enhancing the security, privacy, and overall aesthetic of your outdoor space. Choosing the right fence panels can transform your garden into a private sanctuary while adding character and style to your property.
At East Coast Fencing, we offer a wide range of high-quality, durable fence panels to suit any garden or home design. Whether you’re looking for closeboard fence panels for privacy, decorative panels for elegance, or classic picket fences for a traditional look, we’ve got you covered.
Why Choose East Coast Fencing?
- Wide selection of styles, including closeboard, decorative, picket, modern, and trellis top panels.
- Emphasis on quality and durability to ensure long-lasting performance.
- High customer satisfaction reflected in our excellent Trustpilot ratings.
- Expert support from selection to installation, ensuring a hassle-free experience.
What Are Garden Fence Panels and Why Do They Matter?
Fence panels serve both functional and decorative purposes in your garden. They help define property boundaries, provide essential privacy, and add a stylish touch to your outdoor space.
When selecting garden fence panels, it’s important to consider factors like material, style, and purpose. The right choice can elevate your landscaping, improve security, and withstand local weather conditions.
Key Considerations When Choosing Fence Panels:
- Material: Opt for durable, sustainable options to ensure long-term performance.
- Height: Determine the privacy level needed for your garden.
- Style: Match your fence to your home’s design and garden layout.
- Maintenance: Choose panels that fit your desired upkeep routine.
- Budget: Balance upfront costs with long-term value and durability.
Types of Garden Fence Panels
There are various types of garden fence panels, each offering unique benefits. Here are some of the most popular options:
- Closeboard Fence Panels: Known for their strength and durability, these panels are perfect for privacy and security.
- Decorative Fence Panels: Add a touch of elegance and style, ideal for enhancing the visual appeal of your garden.
- Picket Fence Panels: A classic choice that works well with traditional or cottage-style homes.
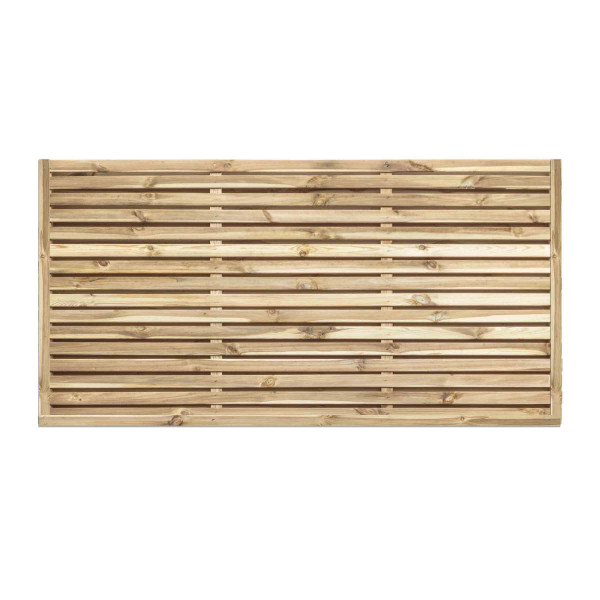
- Modern Fence Panels: Sleek and minimalist, perfect for contemporary garden designs.
- Wooden Fence Panels: Versatile and natural, these panels suit a variety of landscapes and architectural styles.
- Trellis Top Fence Panels: Great for supporting climbing plants, combining functionality and beauty.
Each type of panel offers specific advantages. By considering your garden’s needs and your personal style, you can find the perfect match.
Why Quality and Durability Matter
When investing in garden fence panels, prioritising quality and durability is essential. High-quality panels are built to last, reducing the need for frequent repairs or replacements. Durable fence panels can withstand harsh weather conditions, saving you time and money over the years.
At East Coast Fencing, we ensure that all our products are made with top-notch materials designed to provide long-term value. A great fence panel not only enhances the look of your garden but also stands strong against the elements.
Transform Your Outdoor Space with East Coast Fencing
Ready to upgrade your garden with premium fence panels? East Coast Fencing offers a wide selection of styles and materials to suit every taste and need. From durable closeboard panels to elegant decorative options, we have the perfect solution for your garden.
Browse our collection today and discover how our high-quality fence panels can transform your outdoor space into a secure and stylish haven!
Closeboard Fence Panels for Privacy, Security, and Durability
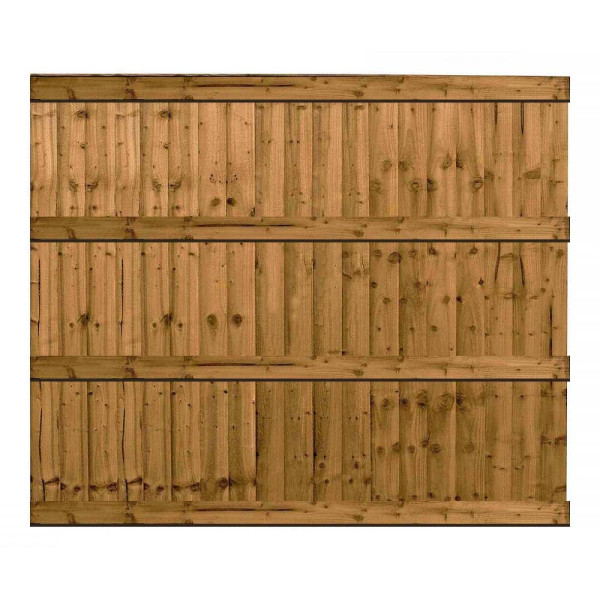
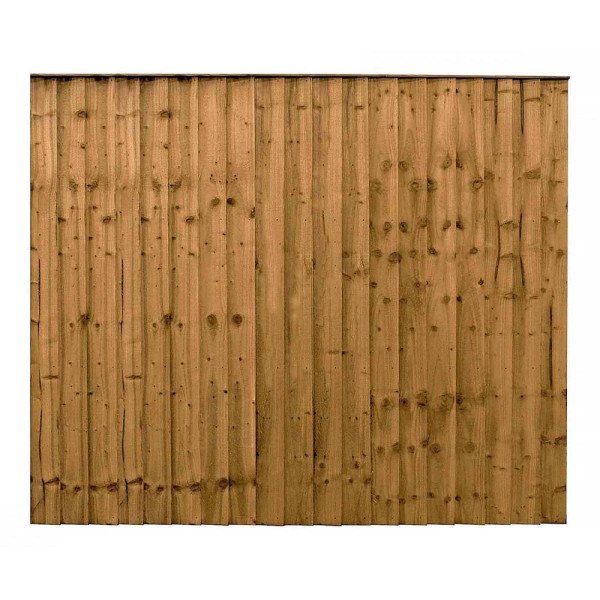
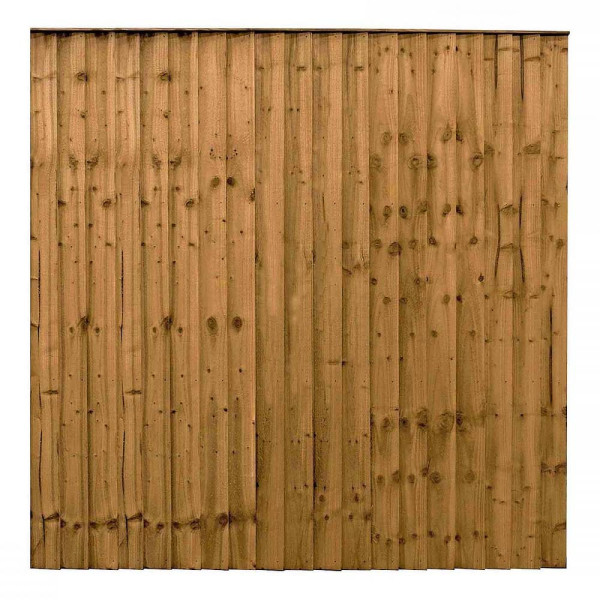
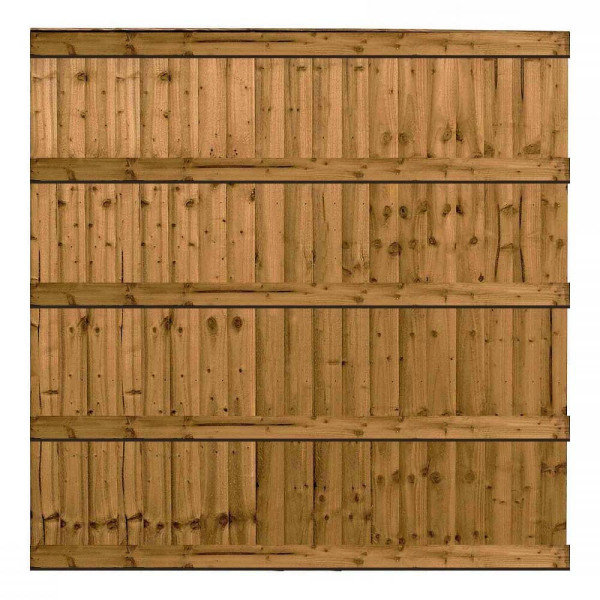
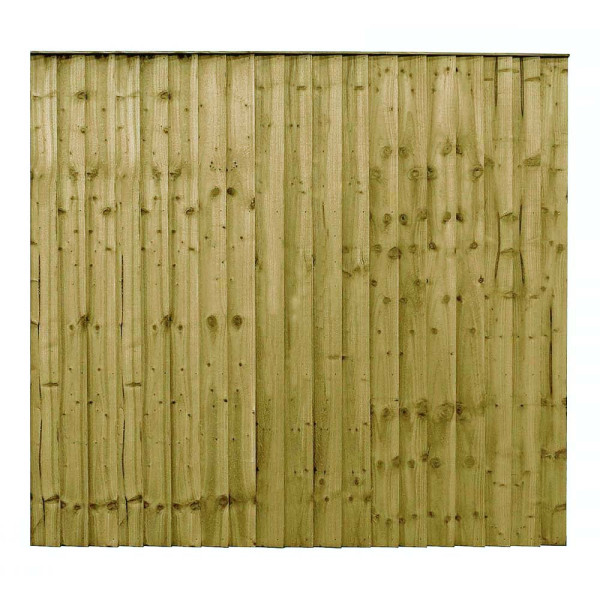
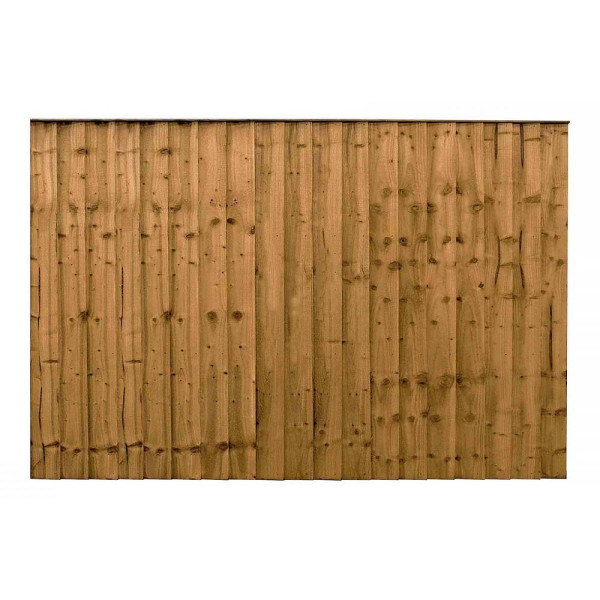
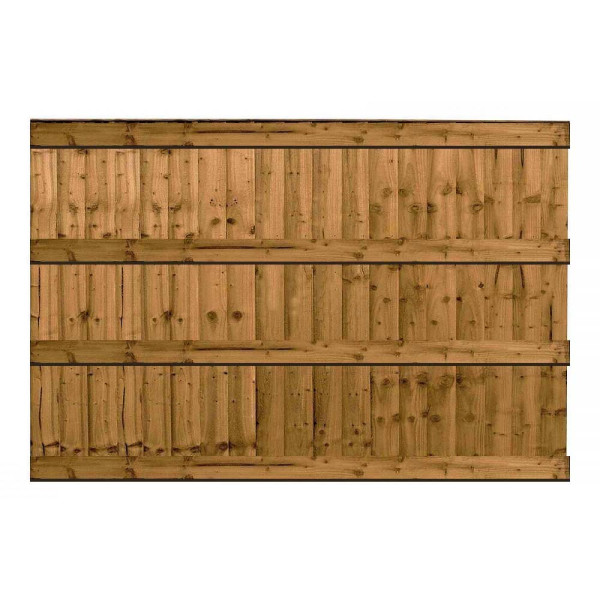
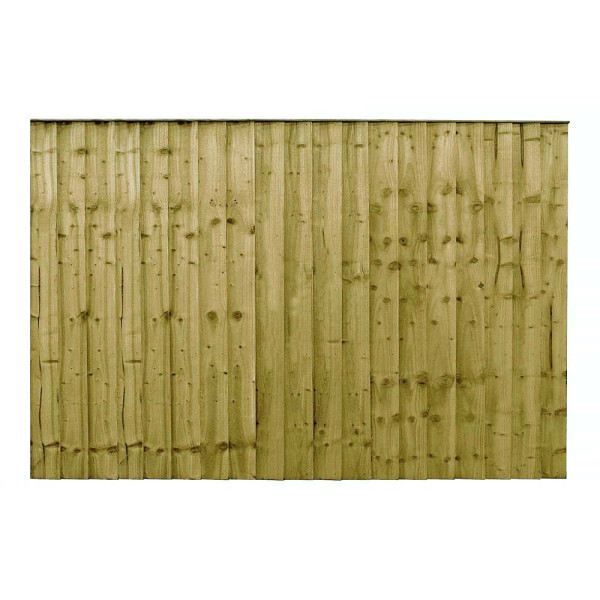
Closeboard fence panels are a top choice for homeowners seeking privacy, security, and durability in their fencing. Designed with overlapping vertical boards, these panels provide maximum privacy by blocking views and deterring unwanted intrusions, making them ideal for securing your property.
Crafted from high-quality, pressure-treated timber, closeboard fence panels are built to last. The pressure treatment protects against rot, decay, and pests, ensuring a long lifespan. With proper maintenance, these panels can last for decades, making them a cost-effective fencing solution. Their solid construction also makes them perfect for high-wind areas, as they resist damage and maintain their structural integrity even in severe weather conditions.
Closeboard panels don’t just offer strength and security—they also deliver on style. Their classic wooden design complements a variety of garden and landscaping styles. The natural timber finish can be left as is for a rustic look or painted and stained to match your personal aesthetic. This versatility makes them a great option for homeowners who want a fence that’s both practical and visually appealing.
If you're looking for fencing that combines strength, longevity, and timeless design, closeboard fence panels are the perfect solution. Their robust construction, weather resistance, and ability to enhance curb appeal make them a popular choice for gardens, backyards, and properties of all kinds. Invest in closeboard fence panels for a secure and stylish fencing option that stands the test of time.
Decorative Fence Panels for Beautiful Gardens
Decorative fence panels are the perfect way to add style, personality, and charm to your garden. Acting as both a functional boundary and a decorative feature, these panels can transform any outdoor space into a beautiful and inviting retreat.
With intricate designs and unique patterns, decorative garden panels bring visual appeal to your yard. From modern minimalist styles to detailed, ornate motifs, there’s a design to match every homeowner’s taste. Decorative fence panels not only make a statement but also create a warm, welcoming atmosphere for your guests.
In addition to their aesthetic appeal, decorative fence panels enhance your garden’s overall look by complementing vibrant flowers, lush greenery, and other landscaping features. They provide a stunning backdrop that blends with nature, creating a peaceful and harmonious outdoor environment.
Made from durable materials such as wood, metal, and composite, decorative fence panels are built to last. These materials are carefully selected for their strength and beauty, ensuring they withstand weather conditions while maintaining their elegant appearance. Choosing the right material can also help tie together other garden elements like pathways, patio furniture, and plant arrangements.
If you’re looking to elevate your outdoor space, decorative fence panels are an excellent investment. They offer a combination of elegance, functionality, and durability, making them ideal for creating a stylish and well-defined garden boundary. Upgrade your garden today with decorative fence panels and enjoy a space that reflects your personal style while boosting curb appeal.
Picket Fence Panels: Classic Charm for Your Home
Looking to add timeless style and curb appeal to your property? Picket fence panels are the perfect solution! Known for their classic design and nostalgic charm, picket fences are a popular choice for enhancing both traditional and modern homes.
Why Choose Picket Fence Panels?
- Timeless Design: With their iconic pointed or rounded tops, picket fences bring elegance and a traditional feel to any home.
- Visibility and Airflow: The open slat design provides clear views and promotes airflow, making them ideal for front gardens, porches, and other outdoor spaces.
- Versatile Style: Whether for a cozy cottage or a grand estate, picket fences blend seamlessly with a variety of architectural styles.
- Curb Appeal: These fences create a welcoming and polished look, boosting the overall aesthetic of your property.
Easy to Maintain and Durable
Picket fence panels are typically made of high-quality wood, ensuring durability and a long lifespan. They are easy to install and maintain, and with a fresh coat of paint or stain, you can keep them looking great for years. This flexibility allows you to match the fence to your home’s colour scheme or outdoor decor.
Perfect for Defining Spaces
Picket fences are ideal for defining boundaries without sacrificing openness. They help separate spaces while keeping a friendly and inviting atmosphere. Use them in front yards, gardens, or pathways for a practical and stylish solution.
Upgrade Your Home with Picket Fence Panels
Whether you're updating your front yard or finishing off your landscaping project, picket fence panels deliver a classic, timeless look that never goes out of style. Choose picket fences to create a warm, inviting, and elegant touch for your home
Modern Fence Panels for Contemporary Homes
Modern fence panels are the perfect choice for homeowners looking to enhance their property's curb appeal with sleek, stylish fencing. Designed to complement contemporary homes, these panels feature minimalist designs and clean lines that create a fresh, modern look. Popular materials like metal, composite, and glass make modern fence panels both durable and visually appealing, adding a touch of sophistication to any property.
Beyond aesthetics, modern fence panels offer practical features that meet the needs of today’s homeowners. Many designs include integrated lighting, smart storage options, and other functional elements, combining style with convenience. These fences are ideal for creating privacy and security while maintaining a chic, urban feel.
Eco-friendly modern fencing is another growing trend. Many panels are made from sustainable materials, reducing their environmental impact without compromising on design or quality. Choosing eco-friendly fence panels is a great way to create a stylish outdoor space while supporting sustainability.
Whether you're looking for a bold design, increased functionality, or an eco-conscious option, modern fence panels are a versatile and attractive solution for any contemporary home.
Wooden Fence Panels for Gardens and Outdoor Spaces
Wooden fence panels are a classic choice for adding natural beauty and functionality to your garden or outdoor space. Known for their timeless appeal, these panels seamlessly blend with any landscape, making them ideal for a variety of property styles. Whether you're looking to enhance your backyard, create privacy, or improve curb appeal, wooden fence panels are a versatile and practical solution.
Types of Wooden Fence Panels
Wooden fence panels come in a wide range of styles, sizes, and designs to suit different needs. From traditional picket fences to modern slatted panels, you can choose the option that best complements your home and outdoor space. The natural grain patterns and warm tones of wood add charm and character, creating a welcoming and relaxing atmosphere in your garden.
Eco-Friendly Fencing Option
Sustainability is a growing priority for many homeowners, and wooden fence panels made from responsibly sourced timber are an eco-friendly choice. By selecting panels from sustainably managed forests, you’re not only protecting the environment but also investing in a durable, high-quality product that’s built to last.
Customisable Wooden Fence Designs
One of the biggest advantages of wooden fence panels is their customisation options. You can choose from a variety of finishes, stains, and colours to match your home’s exterior or garden design. This flexibility allows you to create a personalised outdoor space that reflects your style while adding value to your property.
Long-Lasting and Durable Fencing
With proper care and maintenance, wooden fence panels can last for years, even decades. Regular sealing, staining, and cleaning help protect the wood from moisture, UV damage, and other outdoor elements. This ensures your fence stays strong, functional, and beautiful over time, making it a cost-effective choice for homeowners.
Why Choose Wooden Fence Panels?
- Enhance privacy and security
- Add natural beauty and warmth to your outdoor space
- Eco-friendly and sustainable material options
- Customisable finishes to suit any home or garden style
- Durable and long-lasting with proper care
If you’re looking for a reliable, stylish, and environmentally friendly fencing option, wooden fence panels are the perfect choice. Explore the variety of styles and designs available to transform your garden into a stunning outdoor oasis!
Trellis Top Fence Panels: Style Meets Functionality for Your Garden
Trellis top fence panels are the perfect blend of style and practicality, making them a popular choice for homeowners looking to enhance their outdoor spaces. These panels offer more than just garden boundaries—they create opportunities for climbing plants to thrive, adding vertical interest and a touch of natural beauty to your garden.
The open framework of trellis tops is ideal for supporting climbing plants like roses, clematis, and ivy. As these plants grow, they turn your fence into a stunning green wall that brings life and charm to your outdoor area. This unique feature makes trellis panels a favorite among gardening enthusiasts.
Trellis panels come in a variety of designs, from intricate lattice patterns to simple geometric shapes. This wide range allows you to choose a style that matches your garden’s aesthetic, helping you create a cohesive and inviting outdoor environment. They can also be combined with other fence panel types for added variety, enabling you to achieve both functionality and visual appeal.
How to Select the Best Fence Panels for Your Home
Choosing the right fence panels for your garden or home is an important decision. The perfect fence should balance durability, functionality, and aesthetic appeal. Here’s a step-by-step guide to help you make the best choice:
1. Identify Your Fencing Needs
Start with the purpose of your fencing. Are you looking for privacy, security, or simply a decorative addition to your garden? Different fence panel types cater to various needs, so defining your goals will narrow down your options.
2. Match Your Garden’s Style
Your fence panels should complement your garden’s design and existing features. Whether you have a modern outdoor space or a traditional garden, selecting panels that enhance your style will create a harmonious and inviting atmosphere.
3. Consider Future Landscaping Plans
Think about how your garden might evolve over time. Will you be adding more plants, expanding outdoor areas, or redesigning sections? Choose adaptable fence panels that can adjust to future changes with ease.
4. Evaluate Maintenance Requirements
Low-maintenance fence panels can save you time and money in the long run. Durable materials are worth the investment, as they require less upkeep and have a longer lifespan.
5. Set Your Budget
While budget is an important factor, don’t compromise on quality. High-quality panels may have a higher upfront cost but offer better durability, reducing expenses in the long term.
Why Choose Trellis Fence Panels?
Trellis panels are an excellent solution for those seeking versatile and stylish fencing. Their dual-purpose design not only defines boundaries but also supports climbing plants, enhancing your garden's appearance and functionality.
Work with a Reliable Supplier
Partnering with a reputable supplier like East Coast Fencing ensures you get high-quality fence panels that meet your needs. A trusted supplier offers durable options, excellent service, and peace of mind, making your investment worthwhile.
By carefully considering your fencing goals, garden design, and future plans, you can select the perfect panels to enhance your outdoor space. Whether you choose trellis top panels or another style, your garden will benefit from a functional and beautiful upgrade that lasts for years.
Choosing the Best Fence Panels for Your Home
Selecting the right fence panels is essential for creating a secure, stylish, and long-lasting outdoor space. Whether you’re improving privacy, enhancing curb appeal, or increasing security, the right fencing solution can make a big difference. Here’s what you need to know to make an informed decision.
Key Factors to Consider When Buying Fence Panels
When shopping for fence panels, focus on these key factors:
- Material: The material you choose affects durability, maintenance, and aesthetics. Popular options include wood, metal, and composite. For a classic look, choose wooden panels, but keep in mind they require regular upkeep. Composite panels are low maintenance and long-lasting, while metal options offer strength and security.
- Height: The height of your fence determines the level of privacy and security. Taller fence panels are ideal for backyards needing extra seclusion or protection, while shorter panels work well in front gardens, maintaining an open, welcoming feel.
- Style: Select a design that complements your garden and personal taste. Rustic picket fences, sleek modern panels, and decorative designs are all popular choices. Make sure the style aligns with your home’s overall aesthetic.
- Budget: Balance affordability with quality. While cheaper options may save money upfront, investing in durable, high-quality panels can save you maintenance costs in the long run.
By considering these factors, you’ll be able to choose fence panels that meet your needs for privacy, security, and design.
Proper Fence Installation and Maintenance: A Guide to Longevity
Installing and maintaining your fence panels properly is crucial to ensuring they last for years. Here’s how to get it right:
- Professional Installation: Hiring professionals to install your fence ensures stability, precise alignment, and durability. Experts also account for factors like soil type and wind exposure, giving your fencing a solid foundation.
- Regular Maintenance: Wooden fence panels require annual treatments like staining or sealing to protect them from weather and pests. Composite and metal panels demand less upkeep but still benefit from routine cleaning.
- Weather Protection: Inspect your fence regularly, especially after storms or extreme weather, to catch loose panels or exposed nails early. Prompt repairs prevent further damage and prolong the life of your fence.
- Cleaning: Keep your fence looking fresh by cleaning it regularly. Use suitable cleaning products for the material and remove dirt, debris, and mildew as needed.
By following these tips, you can protect your investment and keep your fence panels in top shape for years to come.
Why Choose Us for Your Fence Panel Needs
Looking for premium-quality fence panels? We’re here to help you transform your garden with durable, stylish, and secure fencing solutions.
- Extensive Range: Our collection includes a wide variety of designs, materials, and sizes to suit any garden style or purpose. From traditional wooden panels to modern composite options, we have something for everyone.
- Expert Guidance: Not sure which fence is right for you? Our experienced team is here to guide you through the selection process, ensuring you find the perfect panels for your needs.
- Customer-First Service: We’re committed to your satisfaction, offering exceptional after-sales support and advice even after your purchase. Your peace of mind is our priority.
- Proven Quality: Don’t just take our word for it—our Trustpilot rating and customer testimonials speak volumes about the quality of our products and services. Homeowners love how our fence panels have enhanced their gardens, boosting security and curb appeal.
- Continuous Improvement: We value feedback from our customers. By listening to your suggestions, we’re constantly improving our products and services to better meet your needs.
When you choose us, you’re not just buying fence panels—you’re investing in quality, service, and a beautiful outdoor space.
Transform your garden today with our premium fence panels. Shop now and enjoy a secure, stylish outdoor space that’s built to last!


