Fence Posts
Fence posts are the backbone of any garden fencing project, providing the essential support needed to keep your fence panels upright and secure. At East Coast Fencing, we understand that choosing the right fence posts is crucial for both the durability and aesthetic appeal of your garden boundary. Whether you're looking for traditional wooden posts, robust concrete options, sleek metal alternatives, or machine round posts, we offer a comprehensive range to meet your needs.
Our selection ensures that you can find the perfect posts to complement your fencing style and enhance your outdoor space.
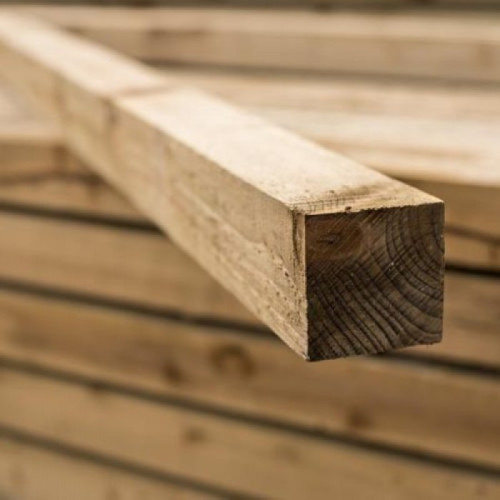
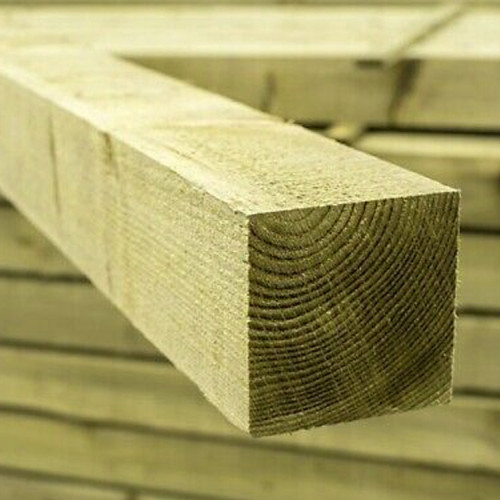
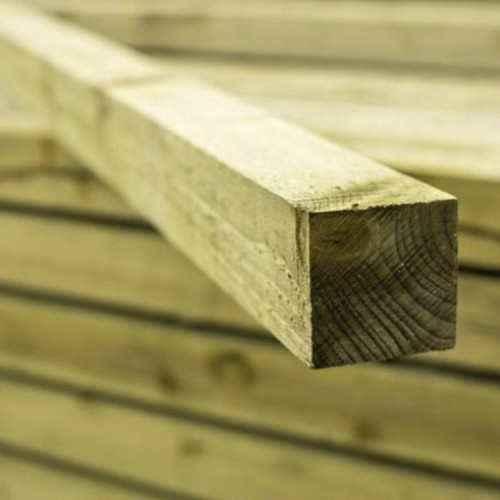
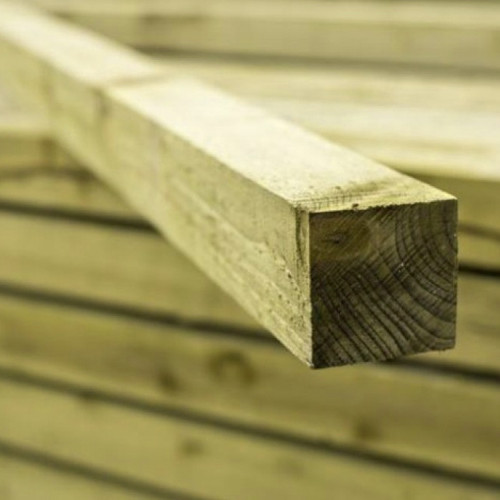
Wooden Fence Posts
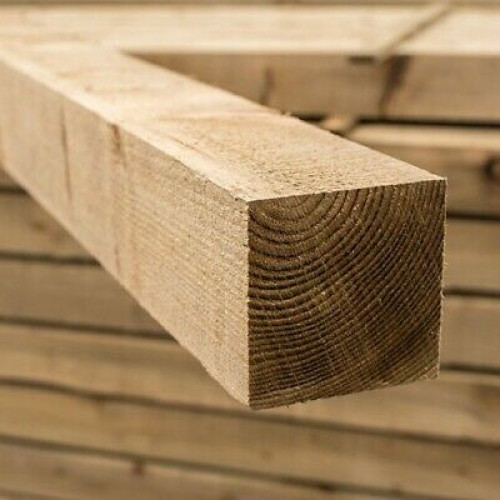
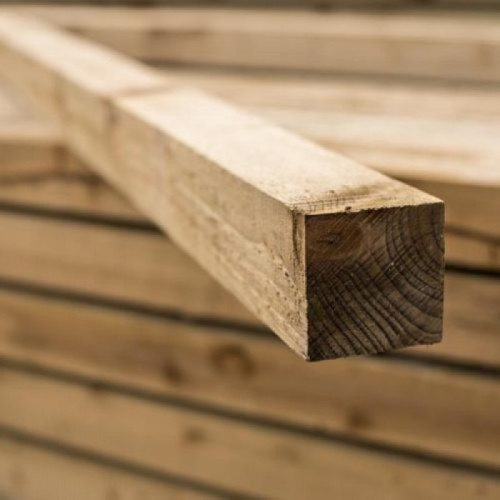
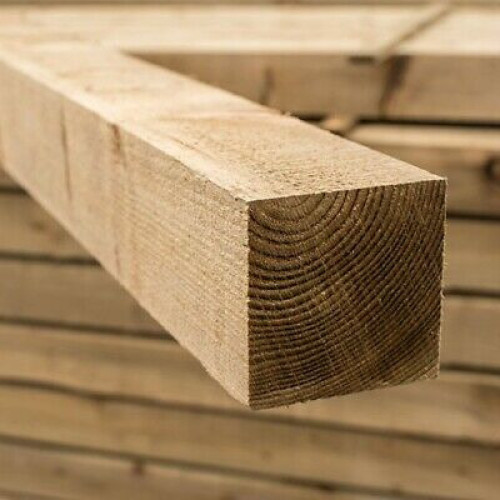
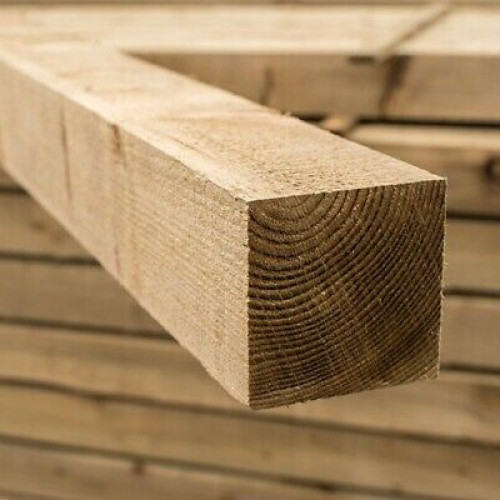
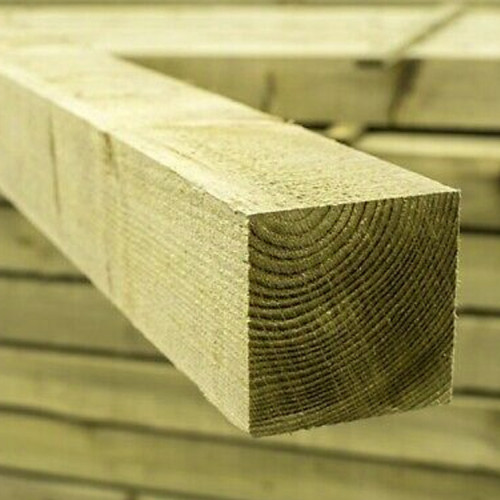
Wooden fence posts are a classic choice that offers a natural and timeless look. They blend seamlessly with most garden landscapes, providing a rustic charm that is both appealing and functional. At East Coast Fencing, our wooden posts are crafted from high-quality timber, treated for longevity and resistance to the elements. This treatment helps to prevent rot, decay, and insect damage, ensuring your fence remains sturdy for years to come. Available in various sizes and finishes, our wooden posts can be easily customised to match your specific requirements.
In addition to their visual appeal, wooden fence posts are relatively easy to install and work with. They can be cut to size and adapted to fit different terrains, making them a versatile option for any garden. Whether you're installing a traditional picket fence or a more modern horizontal slat fence, wooden posts provide the adaptability you need to achieve your desired look. Furthermore, they are environmentally friendly, as they can be sourced from sustainable forests and are biodegradable at the end of their life cycle.
Choosing wooden fence posts from East Coast Fencing means investing in quality and sustainability. Our commitment to using top-grade timber ensures that your fence posts will stand the test of time, providing both strength and beauty to your garden. With proper maintenance, wooden posts can offer a durable solution that enhances the natural aesthetics of your property.
Concrete Fence Posts
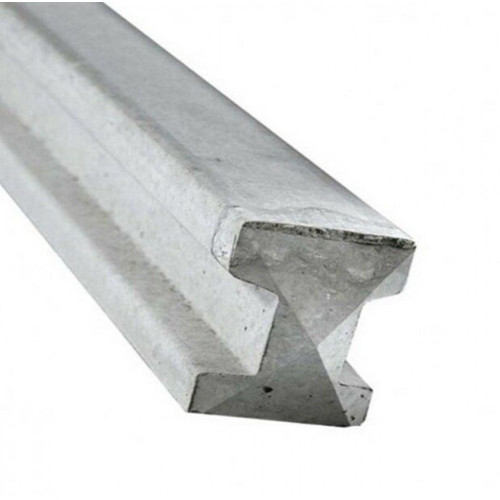
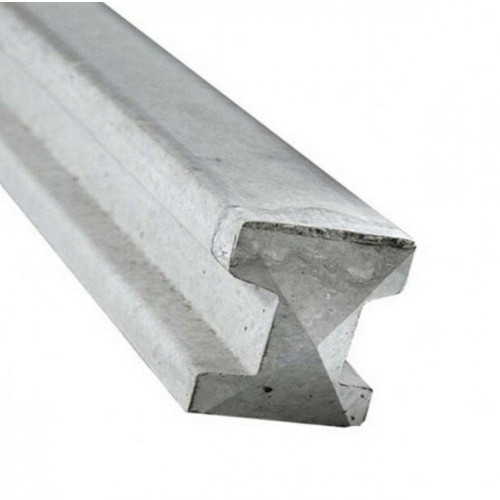
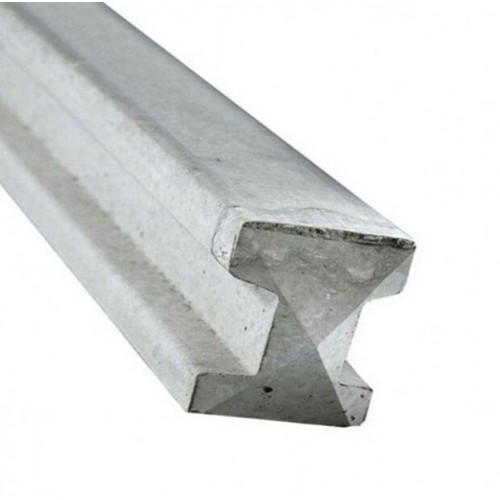
For those seeking maximum durability and strength, concrete fence posts are an excellent choice. These posts are designed to withstand the harshest weather conditions, providing unparalleled stability and support for your fence panels. At East Coast Fencing, our concrete posts are manufactured to the highest standards, ensuring they are both strong and long-lasting. Unlike wooden posts, concrete posts do not rot, warp or succumb to insect damage, making them a low-maintenance option for any garden.
Concrete fence posts offer a sleek, modern appearance that can complement contemporary garden designs. Their clean lines and neutral colour blend well with various fence panel styles, from traditional wooden panels to more modern composite options. Additionally, concrete posts are available in different shapes and sizes, allowing you to choose the best fit for your fencing project. Whether you need slotted posts for easy panel installation or corner posts for added stability, our range has you covered.
Installation of concrete fence posts is straightforward, although their weight means they may require additional manpower or equipment. Once installed, however, these posts provide an exceptionally sturdy foundation that can support even the heaviest of fence panels. This makes them ideal for areas prone to high winds or heavy rains, where additional support is necessary to maintain fence integrity. Choosing concrete posts from East Coast Fencing ensures that your garden fence will remain strong and secure for many years to come.
Metal Fence Posts
Metal fence posts are a versatile and durable option that combines strength with a sleek, modern aesthetic. At East Coast Fencing, we offer a variety of metal posts that cater to different fencing needs, from residential gardens to commercial properties. Our metal posts are typically made from galvanised steel or aluminium, providing excellent resistance to rust, corrosion, and weather-related wear and tear. This makes them a long-lasting choice that requires minimal maintenance over its lifespan.
One of the key advantages of metal fence posts is their strength-to-weight ratio. They offer robust support without the bulkiness of concrete posts, making them easier to handle and install. Metal posts can also be paired with various types of fence panels, including wooden, metal, and composite panels, offering great flexibility in design. Whether you’re looking to create a sleek, minimalist boundary or a more industrial look, metal posts can help you achieve your vision.
In addition to their practical benefits, metal fence posts are also an environmentally friendly option. Many of our metal posts are made from recycled materials and can be recycled again at the end of their life cycle. This reduces waste and contributes to a more sustainable fencing solution. At East Coast Fencing, we ensure that our metal posts are of the highest quality, providing you with a reliable and eco-friendly choice for your fencing needs.
Machine Round Fence Posts
Machine round fence posts offer a unique blend of rustic charm and modern precision. These posts are crafted by machine-turning round timber, resulting in uniformly cylindrical posts that are both aesthetically pleasing and structurally sound. At East Coast Fencing, our machine round posts are made from high-quality timber, treated to withstand the elements and ensure longevity. Their smooth, rounded appearance makes them an attractive option for a variety of fencing styles, from agricultural to decorative garden fences.
Machine round posts are particularly popular for use in rural and agricultural settings, where their natural look complements the landscape. They are ideal for creating robust stock-proof fencing, as well as more decorative garden boundaries. The uniform shape of these posts ensures consistent spacing and alignment, making installation easier and resulting in a professional finish. Available in various diameters and lengths, our machine round posts can be tailored to suit your specific fencing requirements.
In addition to their visual and practical appeal, machine round fence posts are also a sustainable choice. The timber used in our posts is sourced from responsibly managed forests and treated with environmentally friendly preservatives. This ensures that you are investing in a product that is not only effective but also kind to the planet. By choosing machine round posts from East Coast Fencing, you can create a durable, attractive, and eco-friendly fence that enhances the beauty of your garden or property.


