Fence Panels
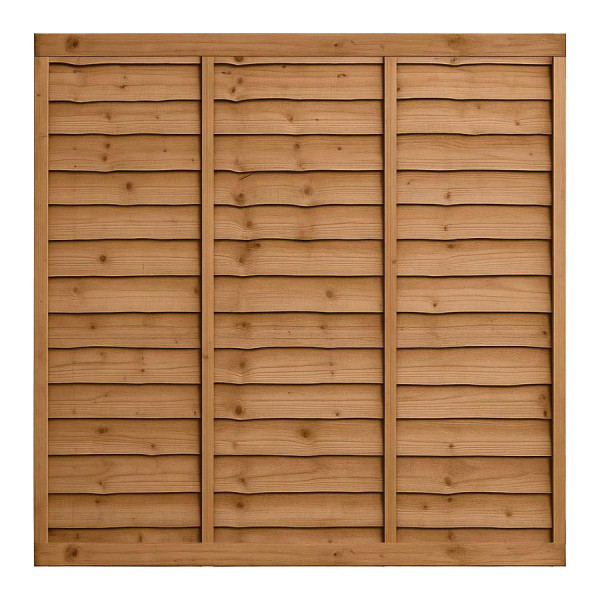
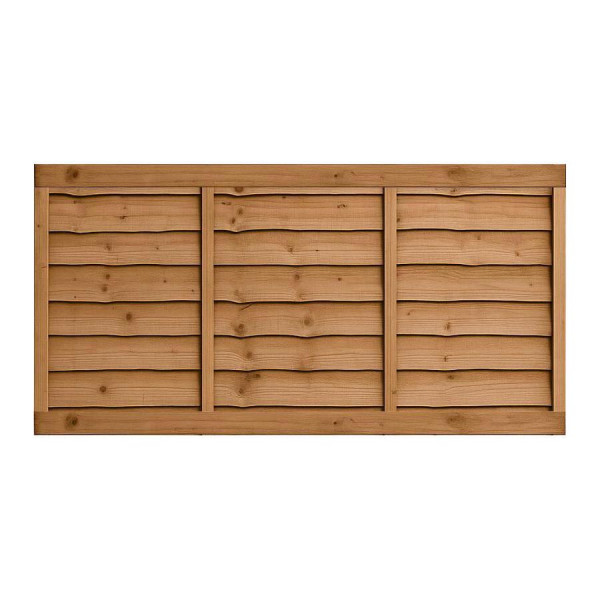
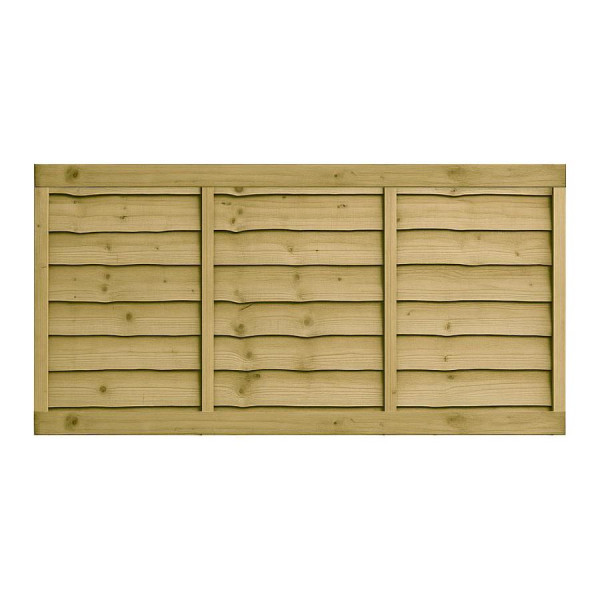
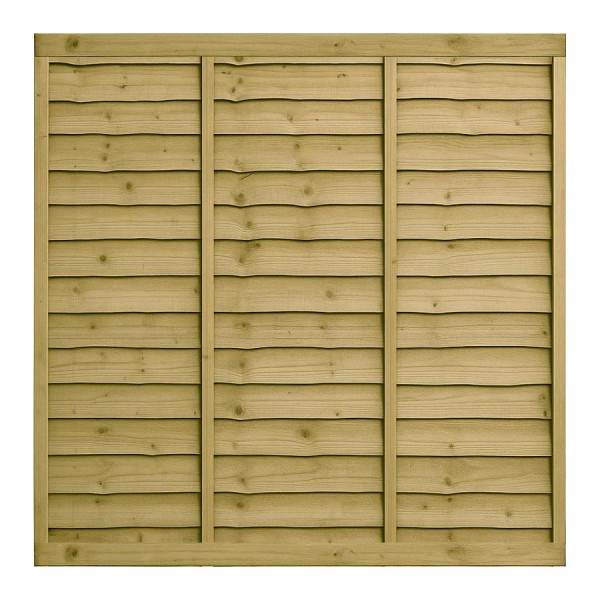
For a smart-looking boundary that feels solid and private from day one, the 6FT x 6FT Waney Lap Fence Panel – Pressure Treated Brown is an easy, dependable choice. The classic overlap construction offers reassuring screening and a neat, uniform line along patios, lawns and side returns. Finished in a warm brown treatment that settles naturally into..
from
£31.99 £39.49
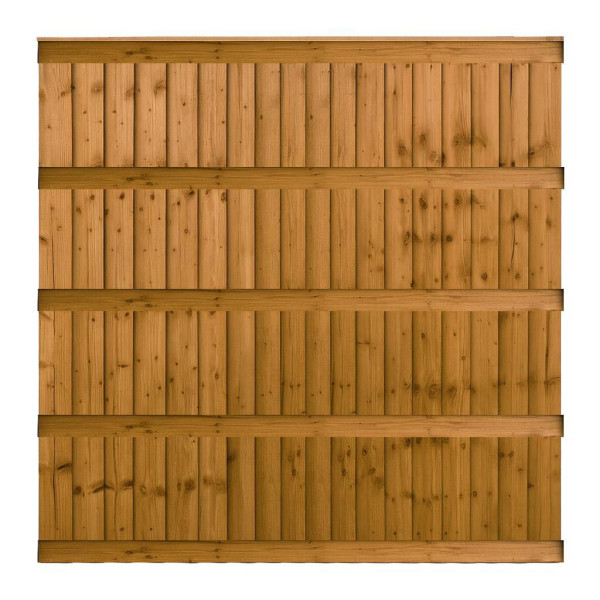
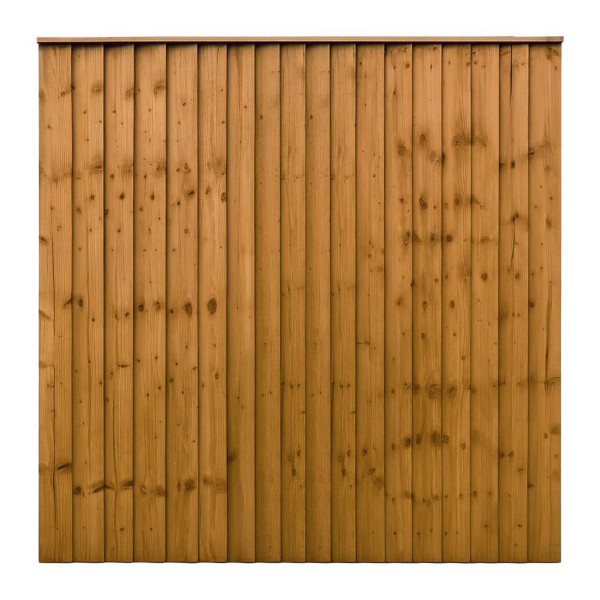
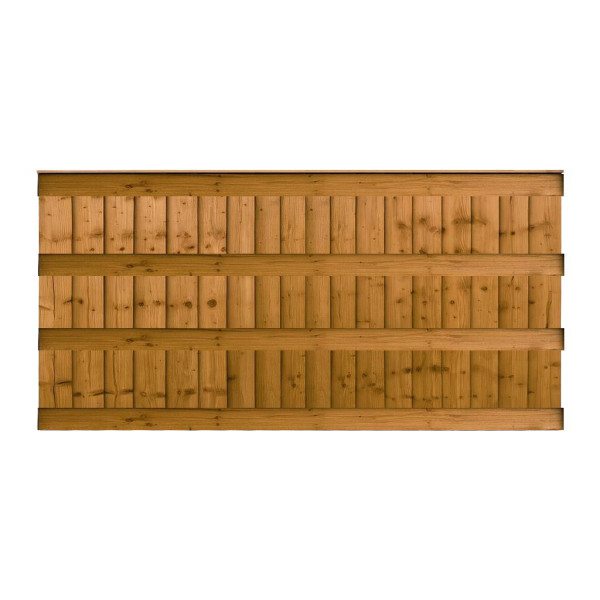
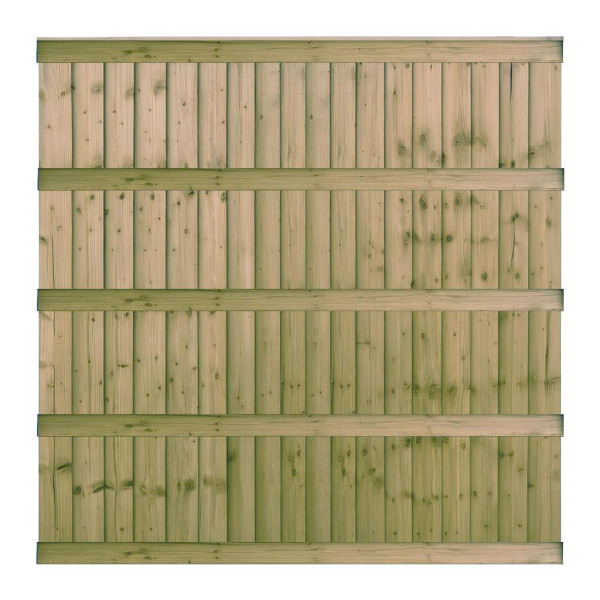
Ex Tax:£26.66Introducing the 6FT x 6FT Ultra Heavy Duty Closeboard Fence Panel, a premium choice for those seeking strength and durability in their fencing solutions. Manufactured by East Coast Fencing, these panels represent the pinnacle of quality and craftsmanship. Having sold over 150,000 units, this speaks volumes about their reliability and trustworthines..
from
£46.99 £58.49
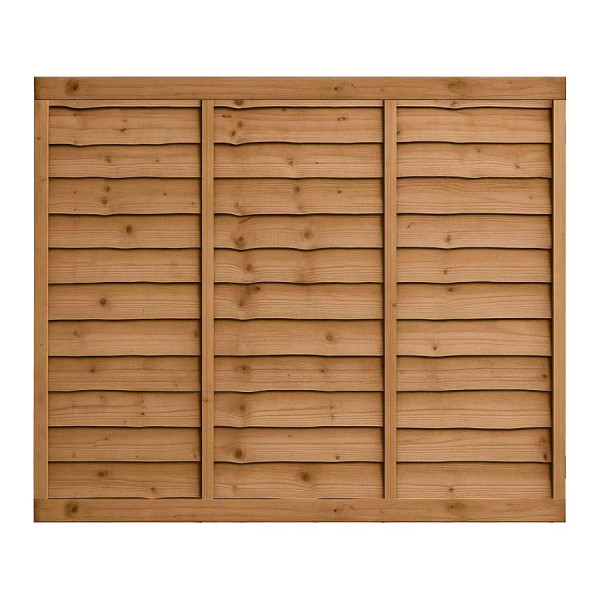
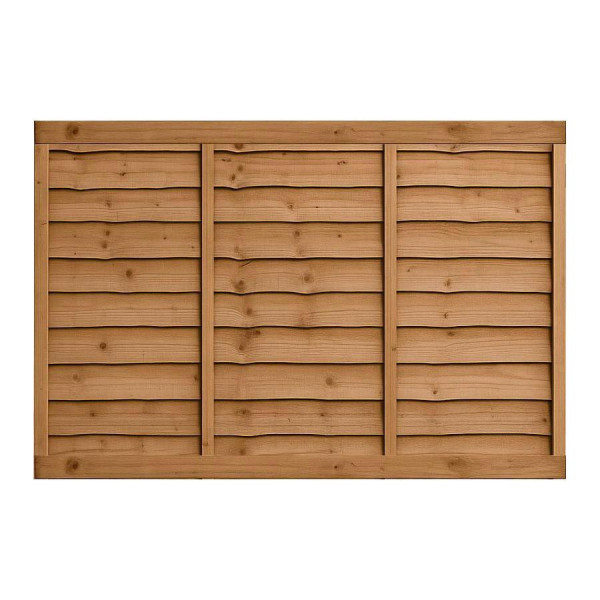
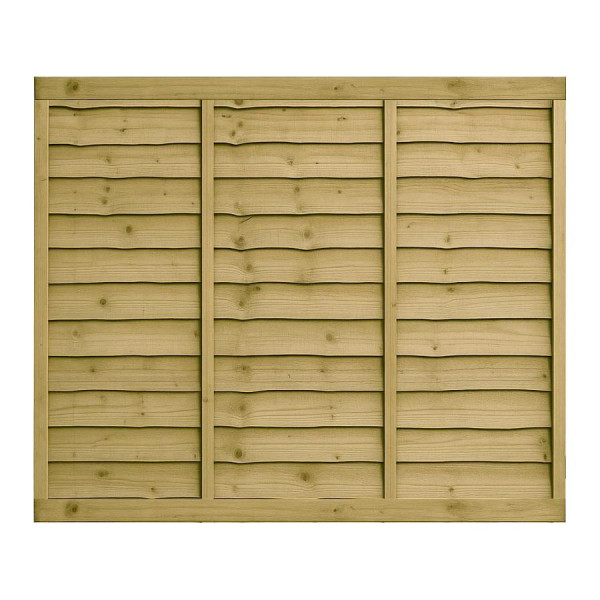
Ex Tax:£39.16The 6FT x 5FT Waney Lap Fence Panel – Pressure Treated Brown is a versatile choice when you want dependable privacy at a slightly reduced height compared to full 6ft panels. With its warm brown treatment and classic overlap construction, this panel brings reliable screening, a natural look that complements most garden styles, and straightforward in..
from
£26.49 £32.99
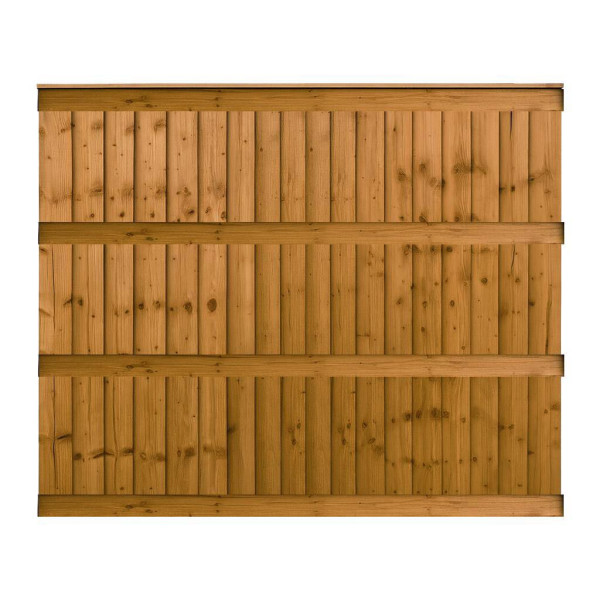
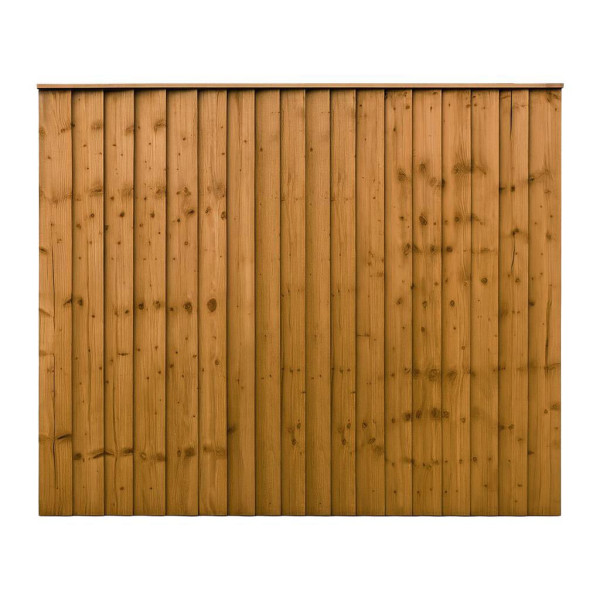
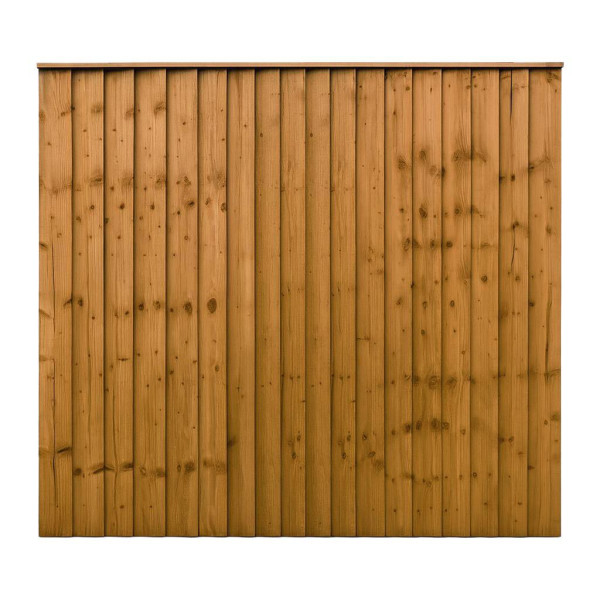
Ex Tax:£22.08Discover the unmatched durability and craftsmanship of East Coast Fencing's 6FT x 5FT ultra heavy duty closeboard fence panels. These panels are engineered to provide the utmost strength and longevity, making them an ideal choice for homeowners seeking both functionality and aesthetics. With a remarkable sales record of over 150,000 panels, it's cl..
from
£39.99 £49.49
Ex Tax:£33.33Looking for a dependable solution to secure the borders of your garden? Consider the 6FT x 6FT closeboard fence panel, a perfect blend of durability and style. Pressure-treated in a rich brown hue, this fence panel not only enhances the aesthetic appeal of your outdoor space but also stands resilient against the elements.
Crafted by East Coast Fen..
from
£44.49 £55.49
Ex Tax:£37.08The 6FT x 3FT Waney Lap Fence Panel – Pressure Treated Brown is the perfect choice for lower garden boundaries where definition and style are just as important as privacy. With its overlap construction and warm brown pressure treatment, this panel offers durability and a traditional appearance that blends beautifully with most outdoor settings. At ..
from
£19.49 £23.99
Ex Tax:£16.24Introducing the East Coast Fencing 6FT x 5FT closeboard fence panel, a testament to superior craftsmanship and robust design, tailored for those who value both aesthetics and durability. This high-quality fence panel stands out as a prime choice for creating a secure and attractive boundary around your property. With its pressure-treated brown fini..
from
£37.49 £46.49
Ex Tax:£31.24The 6FT x 4FT Waney Lap Fence Panel – Pressure Treated Brown is a practical, stylish option for creating lower garden boundaries that still provide privacy and definition. With its overlap design and warm brown pressure treatment, this panel is built for outdoor durability while blending naturally into most landscaping styles. At 4ft high, it’s ide..
from
£22.99 £28.49
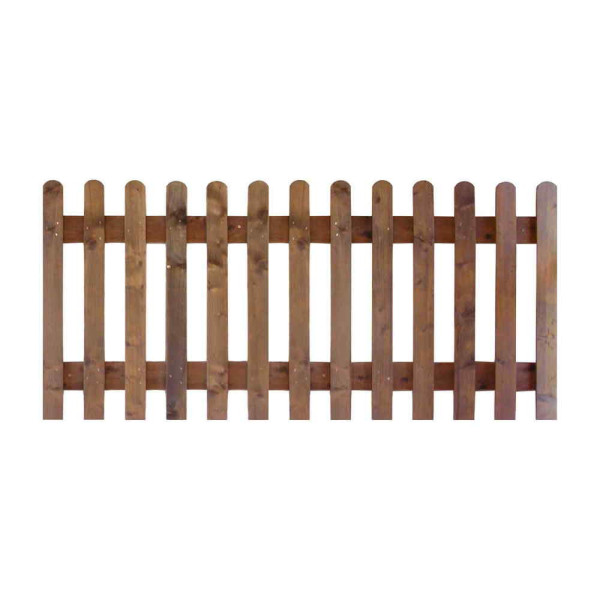
Ex Tax:£19.166FT x 3FT Round Top Picket Fence Panel - Pressure Treated Brown provides a traditional, low-to-mid height boundary with a softer silhouette. Built to span a standard 6ft bay at 3ft high, it features rounded pale tops and a warm brown finish that complements planting, paths and driveways while keeping sightlines open.Pressure-treated for dependa..
from
£24.99 £30.99
Ex Tax:£20.83Introducing the 6FT x 3FT ultra heavy duty closeboard fence panel from East Coast Fencing, engineered to redefine durability and style in your outdoor spaces. Crafted with precision and care, this fence panel is not just any boundary—it represents strength and enduring quality. Our commitment to excellence is evident in every detail, making it the ..
from
£30.49 £37.99
Ex Tax:£25.41The 6FT x 3FT Waney Lap Fence Panel – Pressure Treated Green is a versatile option for creating lower garden boundaries that remain durable, attractive and easy to install. With its overlap construction and fresh green finish, this panel offers long-lasting performance while blending seamlessly with lawns, planting and hard landscaping. At just 3ft..
from
£19.49 £23.99
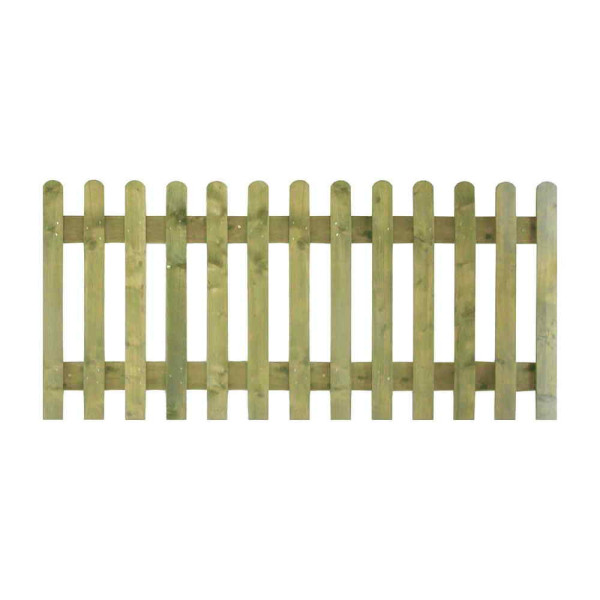
Ex Tax:£16.246FT x 3FT Round Top Picket Fence Panel - Pressure Treated Green provides a mid-height, traditional boundary with a softer silhouette. Sized to span a standard 6ft bay at 3ft high, it features rounded pale tops and a natural green finish that blends discreetly with planting while keeping sightlines open.Pressure treated for outdoor longevity
Th..
from
£24.99 £30.99
Ex Tax:£20.83The 6FT x 5FT Waney Lap Fence Panel – Pressure Treated Green is a classic, practical choice for homeowners who want reliable privacy with a slightly lower profile than a full 6ft fence. Its overlap design provides strong coverage, while the green pressure treatment prepares the timber to stand up to the British climate. This panel is ideal for crea..
from
£26.49 £32.99
Ex Tax:£22.08If you want sturdy, great-looking garden privacy without the fuss, our 6FT x 6FT Waney Lap Fence Panel – Pressure Treated Green is the straightforward choice. This classic horizontal-lap design gives you dependable screening for boundaries, side returns and back gardens alike, while the green pressure treatment helps the timber stand up to the Brit..
from
£31.99 £39.49
Ex Tax:£26.66Introducing the 6FT x 6FT Ultra Heavy Duty Closeboard Fence Panel, a premium addition to your outdoor space crafted by East Coast Fencing. Known for their unwavering commitment to quality, East Coast Fencing has already sold over 150,000 closeboard fence panels, earning the trust of homeowners and garden enthusiasts nationwide. These panels are not..
from
£46.99 £58.49
Ex Tax:£39.16Introducing the 6FT x 5FT 6 Inch closeboard fence panel—a superior solution for your fencing needs, brought to you by East Coast Fencing. Renowned for quality and reliability, our fence panels are your gateway to enhancing both the security and aesthetic of your property. With over 150,000 units sold, it's a testament to the trust and satisfaction ..
from
£39.49 £48.99
Ex Tax:£32.91The 6FT x 5FT 6 Inch closeboard fence panel from East Coast Fencing is a top-tier choice for those seeking durability and aesthetic appeal in their fencing. Crafted with precision, these panels are pressure treated in green, ensuring enhanced longevity and resistance to the elements. With over 150,000 closeboard fence panels sold, the trust in our ..
from
£39.49 £48.99
Ex Tax:£32.91Introducing the 6FT x 4FT ultra heavy duty closeboard fence panel by East Coast Fencing—an epitome of strength and durability in garden fencing. Designed meticulously for those who value security and aesthetics, this panel is a stellar choice for transforming your outdoor spaces. Crafted with precision, it showcases unmatched resilience thanks to i..
from
£35.49 £43.99
Ex Tax:£29.58


