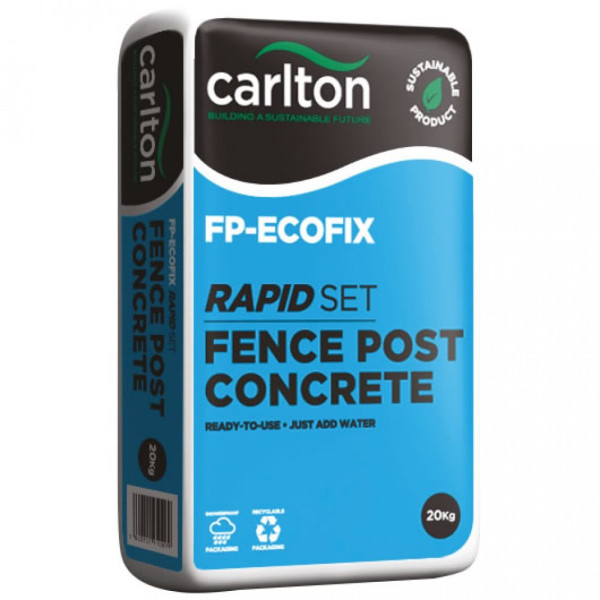
Rapid Set Postmix
- Stock: In Stock
- Brand: Carlton
- Model: PM20KG
- Weight: 20.00kg
- EAN: 5061025361472
Rapid Set Postmix
Introducing the Rapid Set Postmix 20KG, a revolutionary product crafted to simplify your fence and gate post installations. Designed with convenience in mind, this pre-blended formula eliminates the traditional hassle of mixing concrete. Just add water, and watch as it transforms into a robust solution for setting wood, metal, and concrete posts securely and efficiently.
With its rapid-setting capabilities, this Postmix allows for swift completion of your projects. Within just 5 to 10 minutes, the mix is set and ready, facilitating a seamless transition from one installation to the next. Manufactured in a controlled factory environment, you can rely on its consistent quality that ensures each use meets the highest standards.
The versatility of the Rapid Set Postmix extends beyond easy application. It is perfectly suitable for various post types, accommodating the diverse needs of your installation projects. Designed to be stored outdoors, the showerproof polythene bags guarantee protection against the elements, providing peace of mind whether you're preparing for immediate use or storing for future projects.
Experience the innovation and efficiency of the Rapid Set Postmix 20KG and elevate your post installations to new heights. Its user-friendly application and superior performance set a high benchmark for fence post concrete, making it the go-to choice for those seeking a durable and time-saving solution for their projects.
For optimal results, it is recommended to use two bags of postmix per post. This ensures maximum stability and strength, providing a solid foundation that withstands environmental stresses. By using two bags, you can achieve the perfect balance of support and durability, making sure your posts stand firm for years to come. This guideline allows for straightforward planning and preparation, especially helpful when tackling larger projects or when dealing with varying post sizes.
Specifications
| Product Information | |
| Weight | 20KG |
| Colour | Grey |


